
How to Trim Your Puppy’s Nails: A Step-by-Step Guide for Stress-Free Grooming
Many dog owners overlook regular nail trimming, often leading to unexpected scratches and discomfort for both pet and owner. This comprehensive guide provides a step-by-step approach to safely and effectively trim your puppy’s nails, minimizing stress for both of you. We’ll cover everything from acclimating your puppy to the process to choosing the right tools and techniques.
Acclimating Your Puppy to Nail Trimming
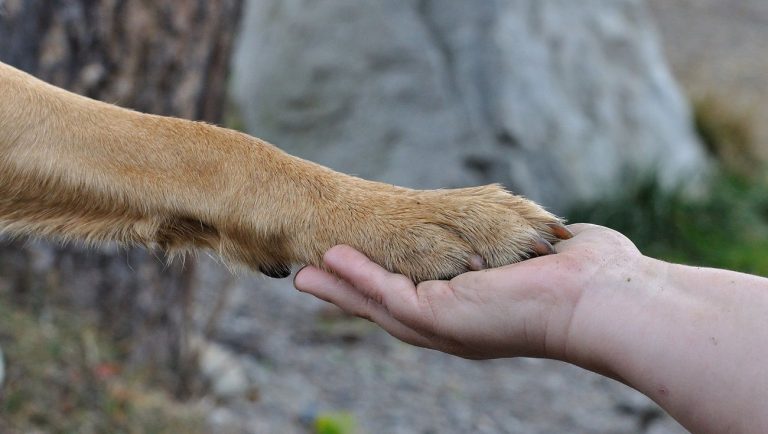
Before you even think about clippers, desensitization is key. Start well in advance of the first trim. Daily, gently handle your puppy’s paws. Examine their ears, check their teeth, and gently open their mouth as if giving an imaginary pill. This routine helps your puppy associate paw handling with positive experiences. Hold each paw, gently touch each toenail, and reward your puppy with verbal praise or small treats for remaining calm. This positive reinforcement is crucial for building a positive association with the process. The goal is to make paw handling a normal, comfortable experience before introducing clippers.
Understanding Canine Nail Anatomy
Before you start clipping, familiarize yourself with your dog’s nail anatomy. Dog nails grow straight/horizontally, then curve naturally towards the ground, tapering to a point. If your puppy has any white nails, you’ll be able to see the pink area, or “quick,” which contains blood vessels and nerves. Avoid cutting into the quick, as this will cause bleeding and pain. The quick’s location varies depending on the nail’s length and your dog’s breed. Shorter, more frequently trimmed nails will have a shorter quick.
Choosing the Right Nail Trimming Tools
Two main types of dog nail clippers exist:
- Guillotine Clippers: These clippers have a circular opening at the end, where the nail is inserted, and a blade that moves into the circle to cut the nail tip.
- Scissor Clippers: These clippers cut from the sides, like regular scissors.
Personal preference often dictates which type you choose. However, many find both types too large for trimming small puppy nails. Initially, you might find human-style, lever-action nail clippers easier to use due to their greater precision and control. Regardless of your choice, always have styptic powder, a quick stop agent, or coagulant readily available to quickly stop any bleeding should you accidentally cut into the quick.
The Nail Trimming Process: Patience and Positive Reinforcement
Now, with your puppy accustomed to paw handling and your tools ready, it’s time for the trim. Continue rewarding your puppy with verbal praise and treats throughout the process. Work slowly, taking breaks if needed. If your puppy whimpers, don’t panic. This doesn’t necessarily mean they’re in pain; they might be anxious about the sensation of pressure on their nails. However, if you cut into the quick, it will bleed. While this is not usually life-threatening, it will cause pain and necessitate the use of your styptic powder.
Tips for Successful Puppy Nail Trimming
Don’t forget the dewclaws: Not all dogs have dewclaws (the small nails located higher on the leg, often on the inside), but if your dog does, it’s crucial to trim them as they don’t wear down naturally.
Trim nails unevenly, as needed: Rear nails are usually shorter than front nails, and the amount of wear varies from nail to nail. Avoid trimming the same amount from each nail.
Smooth rough edges: You can use a fine-grit emery board to smooth any rough edges after clipping. Some owners use electric grinders, but this requires additional training for both you and your puppy. It is important to use appropriate tools and proceed with caution.
Consistency is Key
The most important aspect of successful nail trimming is consistency. The more frequently you trim your puppy’s nails, the less likely they are to become overly long, reducing the risk of cutting into the quick. Regular short trims are far better than infrequent large trims. Remember, the goal is to create a positive and safe experience for your puppy, ensuring that nail trimming becomes a routine part of your dog’s care. Start slowly, be patient, and always prioritize your puppy’s comfort and well-being. By following these steps, you can confidently maintain your puppy’s nail health and prevent potential problems down the road.